

Table of Contents
- Roof Rack Installation Tools and Pre-Install Checks
- How to Measure for Roof Rack Crossbars
- Roof Rack Safety and Weight Limits Explained
- Step-by-Step: Installing SUV Roof Racks on Raised Rails
- Wind Noise, Aerodynamics, and Sunroof Clearance
- Maintenance, Corrosion, and Legal Considerations
- Conclusion
- Frequently Asked Questions
Last Updated: September 27, 2026
Roof Rack Installation Tools and Pre-Install Checks
Installing SUV roof racks starts with knowing your roof profile, your tools, and your vehicle's limits.

Tools You Need in the Driveway
A basic driveway kit covers almost every roof rack crossbar job:
- Torque wrench (the single most important tool here)
- Socket set matching your mounting hardware
- Tape measure
- Allen keys for the clamp bolts
- Clean microfiber cloths
- Protective padding for the roof paint
- A step stool or small ladder
Identify Your Roof Profile Before You Buy
Your roof profile decides which roof rack system fits. Three main types:
- Raised rails: factory bars standing off the roof, the easiest to fit
- Flush rails: rails sitting tight against the roofline
- Bare roof: no factory rails at all, needing a different mounting approach
How to Measure for Roof Rack Crossbars
Roof rack crossbar measurement comes down to two numbers: rail thickness and tower distance. Get both wrong and your clamps either won't close or won't hold. Measure rail thickness at the thickest point, then measure the distance between your mounting points front to back, your tower distance.

Tower Distance and Clamp Sizing
Most adjustable crossbar sets fit a tower distance range, typically 36 to 44 inches, with a maximum rail thickness around 1.5 inches.
Check three things before ordering:
- Rail thickness within the clamp's maximum width
- Tower distance inside the adjustable range
- Rail shape (square, round, or oval) matching the clamp design
Roof Rack Safety and Weight Limits Explained
Roof rack safety and weight limits are where most DIY installs go wrong. Your vehicle has a dynamic load rating (while driving) and a static load rating (when parked). Dynamic is always lower and governs everything on the road.

Calculating Your Real Dynamic Limit
Your usable dynamic capacity is the lower of two numbers, minus the rack's own weight:
- Vehicle roof limit, listed in your owner's manual, usually 100 to 165 pounds for a passenger SUV
- Rack system limit, printed on the crossbar or clamp spec sheet
Weight Distribution and Dynamic Load
Weight distribution matters as much as total weight. Keep heavier items centered between the crossbars and low on the rack. Load too far forward and steering goes light at highway speed; too far back and the rear squats, lifting the front end.
Panoramic Sunroof Compatibility
A panoramic sunroof changes the math. The glass panel is thinner and more fragile than steel, and many manufacturers rate the roof 30 to 50 pounds lower with a sunroof. Check the manual for a sunroof-specific limit before assuming the standard number applies.
Two rules keep glass roofs safe:
- Never let a clamp foot rest on the glass. Clamps must land on the metal rail or the reinforced roof edge, never on the panel itself.
- Verify full open clearance. Open the sunroof completely and watch the panel's travel path. If a crossbar sits in that arc, you will hear a crunch the first time you open it. Measure clearance before you finalize bar position.
Bare Roof and Flush Rail Mounting
Raised rails are the easy case. The other two profiles need different hardware:
- Flush rails: the rail sits tight against the roofline, so the clamp must hook under the rail lip rather than over it. Clamps sized for raised rails will not grip flush rails.
- Bare roof: no factory rails at all. You need either a door-frame clamp system or a fixed-point mount that uses the vehicle's factory roof anchor points, if it has them. Not every bare-roof SUV has anchor points, and drilling is not a DIY job on a modern unibody roof.
Step-by-Step: Installing SUV Roof Racks on Raised Rails
Here's the full sequence for raised rail installation. Budget 30 to 45 minutes for a first-timer.
- Clean the rails. Wipe down both rails with a microfiber cloth to remove grit.
- Lay out your hardware. Match each clamp to its crossbar before you climb up.
- Set the crossbar width. Adjust the clamps to your measured tower distance.
- Position the front crossbar. Place it where the manual recommends, usually behind the windshield header.
- Seat the clamps. Fit each clamp over the rail so the rubber gasket sits flat against the rail surface.
- Hand-tighten first. Thread all fasteners by hand before using tools.
- Torque to spec. Tighten in a cross pattern to the manufacturer's torque value.
- Repeat for the rear bar. Keep both bars parallel.
- Install locking cylinders. Insert the lock cores and test each key.
- Do a final safety check. Push and pull each bar firmly. Nothing should shift.
Seating the Clamps and Rubber Gaskets
Rubber gaskets protect your paint and stop vibration. If a gasket pinches or folds, the clamp won't sit flush, loosen it, reseat the gasket, and start again. Both crossbars should also sit parallel and square to the vehicle centerline; a crooked bar creates uneven load stress.
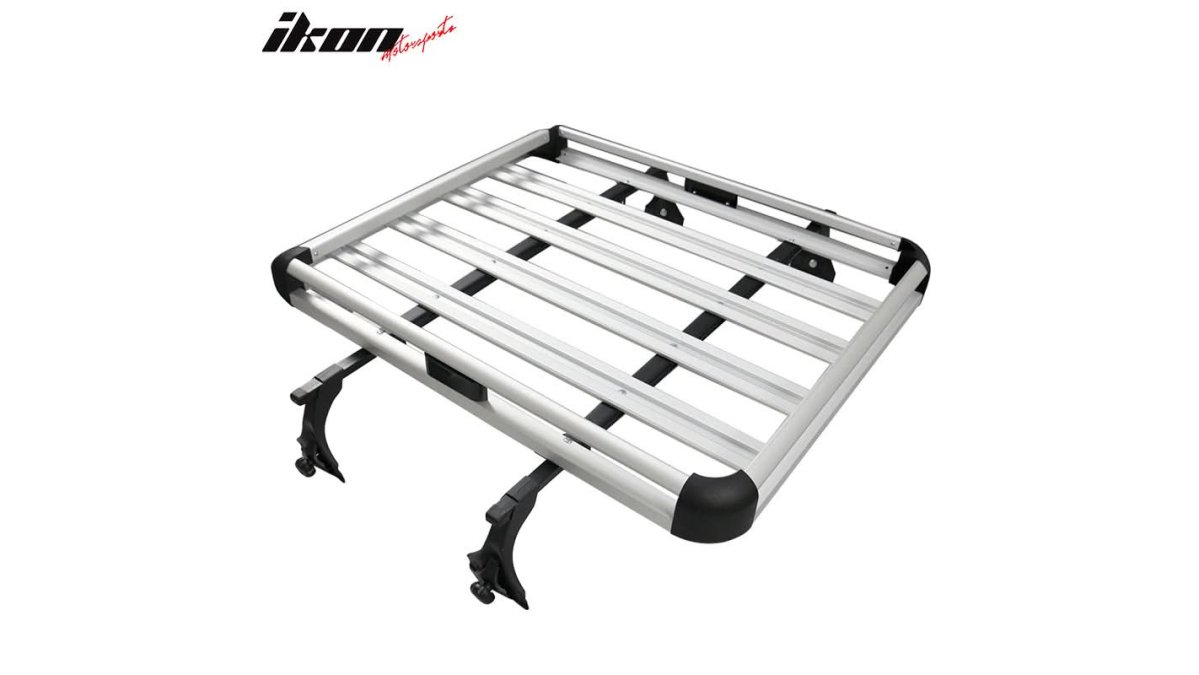
Universal CarRoof Cross Bar Luggage →
Torque, Locking Cylinders, and the Final Safety Check
Tighten fasteners in a cross pattern, like wheel lugs, to keep the clamp seated evenly. Over-tightening is the most common error and damages both the gasket and the rail. Once torqued, install the locking cylinders, test each key twice, then push each crossbar side to side and front to back, any movement means something isn't seated.
Wind Noise, Aerodynamics, and Sunroof Clearance
Wind noise shows up at highway speed. Crossbars act like a wing, and noise comes from air separating off the bar's leading edge.
A few fixes work well:
- Add a wind fairing to deflect airflow over the front bar
- Position bars as far apart as your cargo allows
- Remove the rack when you're not using it
Maintenance, Corrosion, and Legal Considerations
Corrosion resistance keeps a roof rack alive through winters and coastal air. Aluminum crossbars resist rust well, but fasteners and locking cylinders still need attention.
Maintenance Schedule That Actually Works
A simple routine, tied to real intervals:
- Re-torque fasteners after the first 100 miles. New installations settle as the gaskets compress. This is the single most skipped step and the most common cause of a loose bar.
- Re-torque every 3,000 to 5,000 miles or before any long trip with a load.
- Lubricate locking cylinders with graphite, not oil. Oil attracts grit and gums up the pins. Graphite keeps them dry and free.
- Rinse the rack after road salt exposure. Salt is the main driver of fastener corrosion, even on aluminum bars.
- Inspect rubber gaskets for cracking each season. A cracked gasket lets water sit against the rail and lets the clamp vibrate.
Troubleshooting Common Install Problems
Most install failures fall into four patterns:
- Bar shifts when you push it. The clamp is not seated on the rail, or the gasket is pinched. Loosen, reseat the gasket flat, and re-torque in a cross pattern.
- Whistling or howling at highway speed. Air is separating off the leading edge of the front bar. Add a wind fairing, or move the front bar rearward within the manual's recommended range.
- Clamp will not close. The rail is thicker than the clamp's maximum width, or the rail shape (round vs. square vs. oval) does not match the clamp design. No amount of tightening fixes a wrong-size clamp.
- Lock cylinder will not turn. The core is not fully seated. Pull it, check the orientation, and push it in until it clicks.
Legal and Insurance Implications of DIY Installation
DIY installation raises three legal questions.
Warranty. Adding a roof rack generally does not void a vehicle warranty unless the rack itself causes damage. If a leaking clamp foot leads to rust, that repair likely won't be covered. Keep your torque records and the rack's spec sheet.
When to Remove the Rack
An empty rack still adds drag, noise, and a small fuel penalty. If you use it a few times a year, removing it between trips protects the gaskets, cuts wind noise, and avoids corrosion from road spray sitting in the clamps. Store crossbars flat, not leaning against a wall, so they don't take a set.
Conclusion
A roof rack install rewards patience more than skill. Measure twice, torque to spec, and re-check after the first drive. Most failures trace back to a rushed clamp or a guessed torque value.
Frequently Asked Questions
Can you install a car roof rack yourself?
Yes, most SUV roof racks that clamp onto existing raised rails can be installed at home in about 30 to 60 minutes. You need basic hand tools, a torque wrench, and a helper for lifting the bars into place. The main requirements are that your vehicle already has side rails the clamps can grip and that the rail thickness falls within the clamp's range. Always test fit the bars before tightening anything down.
Do I need special tools to install a roof rack on an SUV?
You do not need specialty shop equipment, but a torque wrench matters more than most people expect. Crossbar bolts need consistent, even tension on both sides, and guessing by feel often leaves one clamp looser than the other. Along with the torque wrench, keep a tape measure for tower distance, a soft cloth or protective padding for the paint, and the Allen keys that usually come with the kit.
How do I know if a roof rack will fit my SUV?
Check three things before ordering. First, your roof type: raised rails, flush rails, or a bare roof. Second, rail thickness, since many clamp-style crossbars only fit rails up to about 1 1/2 inches. Third, tower distance, the space between your mounting points, which needs to fall within the bar's adjustable range. Flush and round or oval rails need a different clamp design than raised rails, so measure before you buy.
How much weight can I put on an SUV roof rack?
The number that matters is dynamic load, the weight the rack carries while the vehicle is moving. Static load, what it holds parked at camp, is always higher. Stay within the lower of two figures: your vehicle manual's roof limit and the rack's own rating. Keep heavy items centered between the crossbars and close to the rails, and recheck clamp tension after the first few hundred miles of loaded driving.