

Table of Contents
- Why Truck Part Fitment Goes Wrong (and What It Costs You)
- Start With Your Vehicle Identification Number (VIN)
- How a VIN Decoder for Truck Parts Narrows the Field
- Using YMM Search Filters vs. VIN Lookup
- OEM Part Number Lookup: The Cross-Reference Method
- Aftermarket Truck Part Compatibility: What to Check Before You Buy
- Modified Trucks, Lifted Suspensions, and Fitment Gaps
- Visual Verification and Troubleshooting Incorrect Fitment
- Frequently Asked Questions
Last Updated: October 2, 2026
Why Truck Part Fitment Goes Wrong (and What It Costs You)
Ordering the wrong part burns a weekend, strands your rig on jack stands, and often costs more in return shipping than the part itself. Verifying truck part fitment before you click "buy" separates a smooth install from a nightmare.
Start With Your Vehicle Identification Number (VIN)
Your VIN is the fastest way to lock down what your truck actually is. That 17-character code encodes your engine, drivetrain, and build details in a way a model year alone cannot.
Here is where to find it:
- Driver's side dashboard, visible through the windshield
- Door jamb sticker on the driver's side
- Your registration or insurance card
- The title document
Decoding Your VIN for Trim, Engine, and Drivetrain
The VIN is split into sections. The first three characters identify the maker and country, the middle characters describe the platform, body style, and engine, and the final six are your truck's unique serial number.
How a VIN Decoder for Truck Parts Narrows the Field
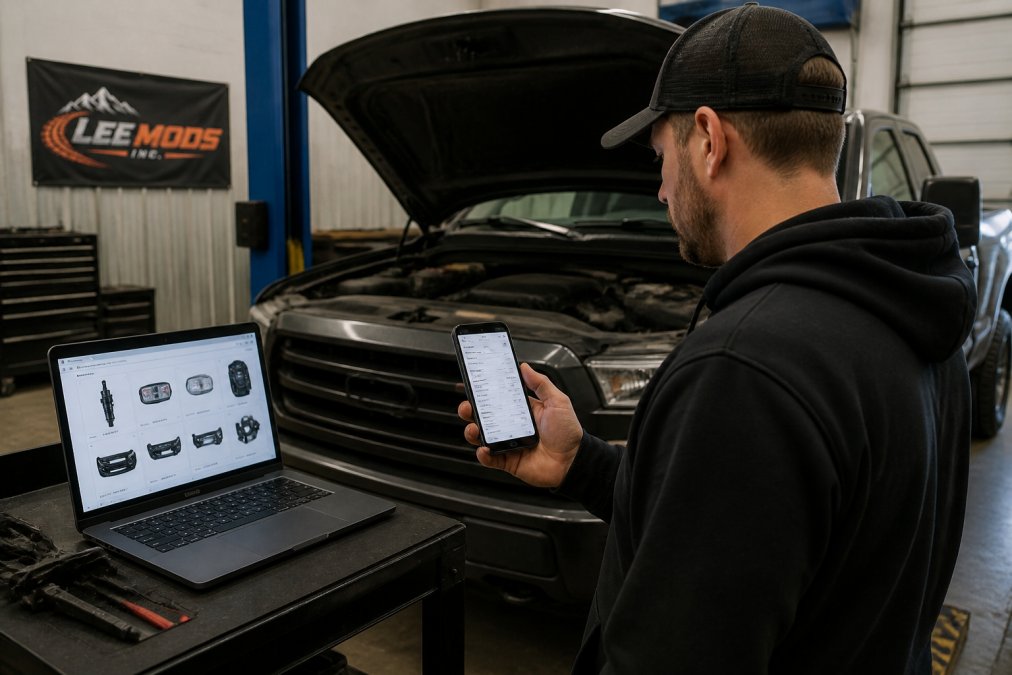
A VIN decoder for truck parts turns that 17-character code into a specific build profile, giving you a filtered list matched to your exact engine, drivetrain, and trim.
Using YMM Search Filters vs. VIN Lookup
YMM search (Year, Make, Model) is the filter most shoppers reach for first, fast and familiar, but looser than a VIN lookup.
| Method | Accuracy | Best For | Weakness |
|---|---|---|---|
| YMM search | Good | Quick browsing, common parts | Misses trim and option differences |
| VIN lookup | Highest | Engine, drivetrain, trim-specific parts | Requires the full 17-character code |
| Part number cross-reference | High | Confirming a specific OEM number | Needs the correct original number |
OEM Part Number Lookup: The Cross-Reference Method
An OEM part number lookup confirms you are buying the exact component your truck left the factory with, the ground truth for fitment.
Here is the cross-reference process:
- Find the OEM part number on your current part or in a service manual
- Search that number to confirm the official description and specs
- Look for a part number cross-reference that lists interchangeable parts
- Match the aftermarket number to the OEM number before buying
Aftermarket Truck Part Compatibility: What to Check Before You Buy
Aftermarket truck part compatibility comes down to reading the listing like a mechanic. The product description is where fitment lives or dies.
Check these before you buy:
- Fitment data: The exact years, models, engines, and trims listed
- Technical specifications: Dimensions, thread sizes, and bolt pattern
- Mounting hardware: Whether bolts and brackets are included
- OEM part number: The factory number the part replaces
- Warranty and returns: What happens if it does not fit
Reading Fitment Notes and Installation Warnings
Fitment notes are the fine print that saves you a return, flagging exceptions a title never mentions.
Watch for phrases like:
- "Does not fit models with factory tow package"
- "Requires 4WD models only"
- "Not compatible with air suspension"
- "Minor modification required"
Modified Trucks, Lifted Suspensions, and Fitment Gaps
Lifted and modified trucks break standard fitment data. Once you change ride height or suspension geometry, factory specs no longer describe your rig, and every online vehicle selector will confidently hand you a part that does not clear.
Why Stock Fitment Data Fails on a Lifted Truck
A lift changes three things that determine whether a part fits: suspension geometry, driveline angles, and clearance.
- Suspension geometry: A 2- to 3-inch lift rotates control arms, changes camber and caster, and moves the axle relative to the frame. A stock-length shock or strut may top out before full droop, and a stock-length sway bar link may bind at full articulation.
- Driveline angles: Raising the frame increases the angle between the transfer case output and the pinion. Past a certain point, stock-length driveshafts and stock pinion angles cause vibration and accelerated U-joint wear.
- Clearance: Larger tires and taller springs change what the wheel, brake line, and inner fender can clear at full lock and full compression.
Measure Your Actual Setup Before You Shop
You cannot verify fitment against a spec sheet describing a truck you no longer own. Measure your rig first and write the numbers down.
- Ride height: Measure from the center of the wheel hub straight up to the bottom of the fender arch, on level ground, with the truck at rest. Compare that to the factory spec for your trim to find your true lift.
- Lift type: Note whether it is a spacer lift, a block-and-shackle lift, or a full coilover and control-arm kit. Each changes geometry differently.
- Tire size: Record the actual mounted diameter and width, not the sidewall number, since brands vary.
- Suspension brand and part numbers: Write down the lift kit manufacturer and the part numbers on the springs, shocks, and control arms.
- Brake line routing: Trace the flexible line from the frame to the caliper and note whether it is stock length or extended.
What to Check on Each Candidate Part
Once you have your measurements, screen every part against them:
- Rated lift range: Many aftermarket shocks, control arms, and links specify a lift range (for example, "for 0-2 in. lift" or "for 2-4 in. lift"). Stay inside the range or the part will not cycle correctly.
- Extended and compressed length: For shocks and struts, match the extended length to your lift and confirm the compressed length still leaves suspension travel before bottoming out.
- Control arm and brake line clearance: At full droop, the brake line should not be the limiting factor. If it pulls tight, you need an extended line regardless of what the part listing says.
- Driveline correction: If your lift exceeds roughly 3 inches, check whether you need a slip-yoke eliminator, a CV driveshaft, or shims to correct pinion angle. Stock-length parts usually will not work here.
- Bolt pattern and mounting points: Confirm the new part uses the same bolt pattern and mounting tabs as your current hardware, since lift kits sometimes change the mounting interface.
When the Listing Does Not Say
Many aftermarket listings never mention lift compatibility. When that happens:
- Look for the manufacturer's own fitment guide or installation PDF, which often lists lift ranges the retailer omits.
- Contact the seller with your exact lift height, suspension brand, and tire size, and ask them to confirm in writing.
- Search owner forums for your specific platform and lift combination, since real-world installs reveal clearance issues a spec sheet will not.
- If no one can confirm, do not buy. A part that almost fits on a lifted truck is more dangerous than one that clearly does not, because it can fail under articulation.
Visual Verification and Troubleshooting Incorrect Fitment
Visual verification is your last line of defense before installation. Even after you confirm the numbers, compare the new part to the old one side by side. Numbers can match while a casting, bracket, or connector quietly differs.
How to Compare Old and New Parts Side by Side
Set both parts on a clean, flat bench and work through these checks:
- Overall shape and casting marks: Lay the parts next to each other and look at the silhouette. A different casting number or a revised boss on the housing is a red flag even if the bolt holes line up.
- Bolt holes and mounting tabs: Count the holes, then measure the center-to-center distance between them with a tape or caliper. A few millimeters of difference will not let the part seat.
- Thread sizes and pitch: Thread a known bolt into each hole by hand. If it starts hard or wobbles, the thread pitch differs.
- Connector plugs and sensor bosses: For electrical or sensor-equipped parts, compare the plug shape, pin count, and keying. A plug that looks similar but is keyed differently will not seat.
- Key dimensions: Measure the critical dimensions the part depends on, flange thickness, bore diameter, overall length, and compare them directly.
What to Do When a Part Does Not Fit
A part that will not seat is not always the wrong part. Work backward through the system before assuming the seller sent the wrong box.
- Re-decode your VIN to confirm your build, engine, drivetrain, and trim. A mistyped digit is a common cause.
- Recheck the fitment data against your trim and engine, including any fitment notes you may have skimmed.
- Compare OEM numbers between the old and new part. If they differ, look up whether the numbers are interchangeable or whether a mid-year revision changed the part.
- Check for installation interference, not fitment failure. A part can be correct but blocked by a bracket, a wiring harness, or a component you have not removed yet.
- Contact the seller with photos, your VIN, and the part number. Clear documentation speeds up the resolution.
Returns, Restocking Fees, and the Cost of Guessing
What happens after a wrong part arrives depends on where you bought it and whether you installed it.
- Uninstalled returns: Most retailers accept returns on uninstalled parts within a set window, often 30 days, but many charge a restocking fee on opened boxes. Read the return policy before you order, not after.
- Installed parts: Once a part is bolted on, most sellers will not accept it back as a return. It becomes a warranty claim at best, and a warranty claim only covers defects, not fitment.
- Electrical parts: Sensors, modules, and electrical components are frequently non-returnable once the packaging is opened, because the seller cannot verify they were not used.
- Shipping both ways: On a heavy part like a brake caliper or a control arm, return shipping can rival the part price. That is the real cost of guessing.
Frequently Asked Questions
How do I check if a specific part fits my truck's VIN?
Look for the 17-character VIN on your driver-side dashboard or door jamb. Enter it into a VIN decoder tool or the vehicle selector on a parts site. The decoder returns your exact trim, engine displacement, drivetrain, and chassis code. Cross-reference those details against the part's fitment data before adding it to your cart. If the listing only shows a YMM range without VIN-level confirmation, verify the OEM part number matches your original before ordering.
What is the difference between OEM and aftermarket part fitment?
OEM parts are built to the manufacturer's exact specifications for your vehicle configuration, so fitment is guaranteed when the part number matches. Aftermarket parts may be designed as direct replacements or as universal-fit options. Direct-fit aftermarket parts follow OEM dimensions and mounting points; universal parts often require drilling, bracket fabrication, or adapter hardware. Always read the product description to confirm whether an aftermarket part is direct-fit or universal before purchasing.
What should I do if a part is listed as 'universal' but I'm unsure it will fit?
Universal parts rarely bolt on without some modification. Check the product description for dimensions, bolt pattern, and mounting hardware requirements, then measure your truck's existing mounting points and compare. If the listing includes a compatibility check tool, run your VIN or YMM through it. When in doubt, contact the seller with your vehicle configuration and ask for a fitment confirmation. A part that needs fabrication may void warranties or compromise safety.
How can I troubleshoot a part that doesn't fit after delivery?
First, re-verify your VIN and confirm you ordered the correct part number. Check whether the part was designed for a different trim level, engine, or drivetrain configuration. If you have a lifted or modified truck, the issue may be suspension geometry rather than the part itself. Take photos of the mismatch, note the part number and your vehicle details, and contact the seller's support team. Many fitment issues are resolved with the correct mounting hardware or a different variant.
Getting fitment right takes a few extra minutes at checkout, but it saves hours in the garage. Lee Mods makes that easier with vehicle-focused product pages, clear fitment information, and a curated catalog built for trucks, SUVs, and adventure rigs. Whether you are chasing a specific OEM number or upgrading a lifted build, our selection is organized to help you find parts that fit the first time. Get started with Lee Mods and shop by vehicle to build your rig your way.
Ready to upgrade your truck or SUV?
Shop Lee Mods' stocked Featured Truck & Off-Road Picks, with fitment guidance before you order.
Shop Featured Truck & Off-Road Picks →